Most new parents get sold on the fantasy of a Pinterest-perfect nursery with miles of floor space and custom built-ins. Then reality hits when you’re trying to squeeze a crib, dresser, and changing station into what’s basically a large closet. Stop buying smaller furniture and start rethinking how you use the room you’ve got. The secret? Put that crib in the corner and reclaim your floor space.
- Corner crib placement opens up the center of the room for actual walking space instead of awkward sideways shuffling around furniture.
- Replacing swing-out doors with barn-style sliders on the outside wall can instantly free up 30% more usable square footage.
- Smart use of under-crib storage, wall-mounted solutions, and multi-purpose furniture turns even a 7×9 foot room into a fully functional nursery.
Walk through any typical nursery setup and you’ll notice the same space-wasting mistakes repeated over and over. The crib sits smack in the middle of a wall, creating dead zones on both sides. The changing table hogs an entire corner. That glider chair everyone swears you need takes up a quarter of the floor. Then there’s the door that swings inward, eating up a solid 9 square feet just for clearance.
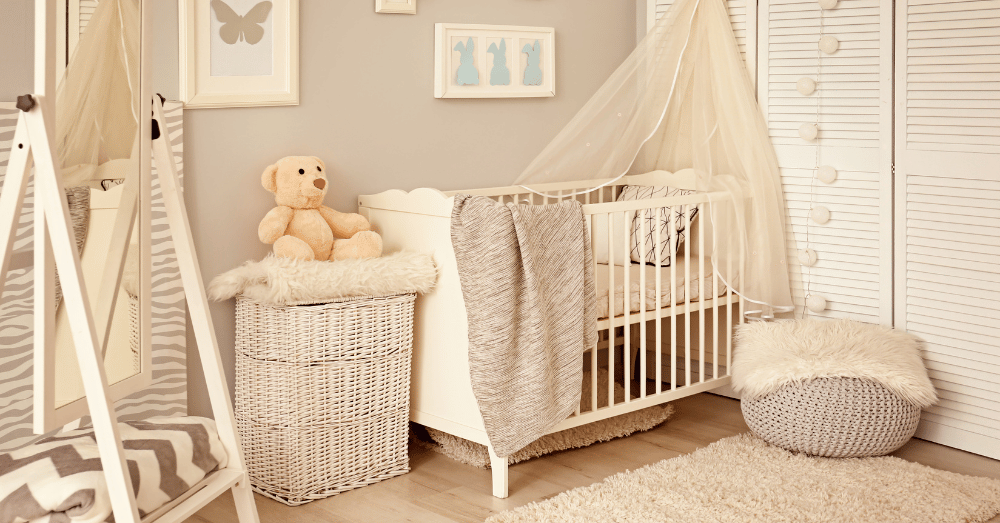
Here’s what works better. Push the crib into a corner where two walls meet. You can either tuck it flush against both walls or angle it diagonally across the corner to add visual interest. Either way, you’re freeing up the center of the room for movement. When you’re stumbling around at 2 AM trying to soothe a crying newborn, you’ll appreciate having clear paths instead of an obstacle course.
Need More Crib Space? Ditch the Traditional Door
That standard swing-door is killing your layout. A barn-style slider mounted on the hallway side of the wall changes everything. You reclaim all that floor space the door used to need, and you can position furniture right up against the wall without worrying about door clearance. Some parents worry about the gap at the top of sliding doors letting noise through, but white noise machines handle that easily.
Stop Ignoring the Space Under Your Crib
The area underneath your crib is prime real estate that most people waste. Build drawer boxes on casters that pull out completely. You want something you can yank out with one hand while holding a baby with the other. Store extra crib sheets, blankets, and out-of-season clothes down there. Some parents even keep diaper supplies under the crib in labeled bins.
Skip those wimpy plastic storage containers that crack and break. Build real drawer boxes from plywood, add quality caster wheels, and you’ve got storage that’ll last through multiple kids. Measure the clearance carefully because every crib sits at a slightly different height off the floor.
Rethink Your Changing Setup
The traditional changing table is a space hog that you’ll use for maybe 18 months before it becomes an expensive junk collector. Mount a changing pad on a flip-down wall bracket above your dresser instead. The pad folds flat against the wall when not in use, and you get the entire top of the dresser back for actual storage.
Some parents go even further and install fold-down changing stations in the closet. Remove the closet doors, add adjustable shelving from floor to ceiling on the back wall, and mount a wall-hung changing station that folds away completely. Now your closet becomes command central with hanging storage, shelves for diapers and wipes, and a changing area that disappears when you don’t need it.
Forget the Glider
Everyone tells you that you need a glider chair. What you actually need is somewhere comfortable to sit during 3 AM feeding sessions. A simple pouf ottoman does the job and tucks under the crib when you’re not using it. Pull it out for feeding time, shove it back under when you’re done. That’s 6 square feet of floor space you just got back.
If you really want a chair, get one that swivels. Put it in the corner by the window where you can feed the baby and still see into the crib when you’re not holding your infant. A swivel feature means you’re not stuck staring at one wall.
Measurements That Actually Work
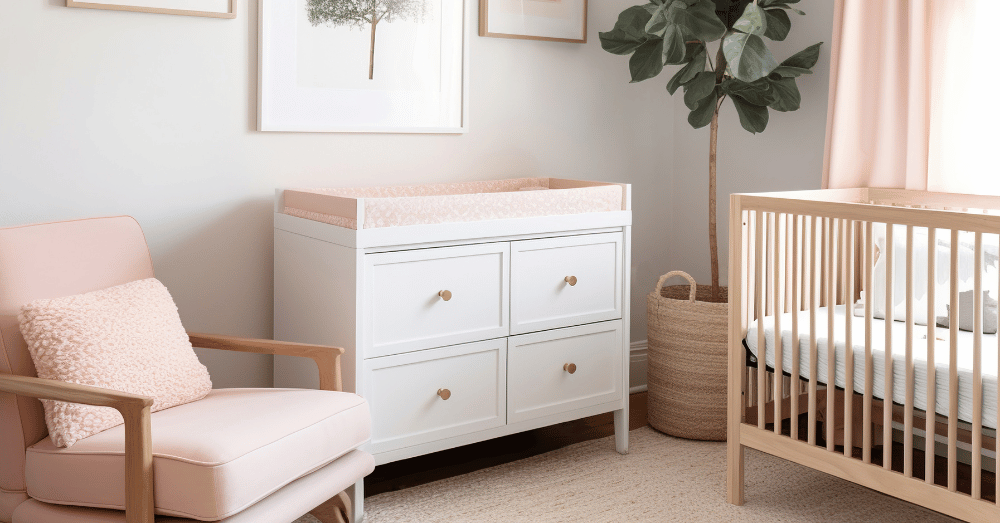
Here’s what fits in a small nursery: a 36-inch corner crib, 24-inch minimum walkway around furniture, and a dresser no deeper than 16 inches. That shallow dresser is key because standard 18-20 inch dressers make rooms feel cramped. You can find 16-inch deep dressers that still hold plenty of baby clothes.
The dresser goes opposite the crib, ideally near the door so you can grab clean clothes on your way in. Keep the top clear except for a changing pad when you need it. Store diaper supplies in the top drawer where they’re easy to reach.
When Placing the Crib, Make Every Inch Count
One couple turned their 7×9 foot room into a complete nursery following this exact layout. Corner crib with under-storage, barn door on the hallway wall, narrow dresser with wall-mounted changing setup, and a pouf ottoman that slides under the crib. They ended up with proper walking space and 40 cubic feet of storage.
The point isn’t to make your nursery look like a magazine spread. The point is to create a room where you can actually function during those exhausting first months. You need clear paths for pacing with a fussy baby. You need storage within arm’s reach. You need space to move without banging your shins on furniture corners in the dark.
Measure your room carefully before buying anything. Draw it out on graph paper with furniture templates cut to scale. Test different arrangements on paper until you find one that leaves actual floor space in the middle. Then stick to your plan instead of cramming in extra pieces just because they look cute.
Your Nursery Needs to Work for You
Every nursery has different challenges. Weird angles, awkward door placements, windows in strange spots. The corner crib strategy adapts to most layouts because it starts with opening up the center of the room. From there, you work around your specific constraints.
Take photos of your empty nursery from multiple angles. Measure everything twice. Consider traffic flow and which direction you’ll be walking when you enter with the baby. Think about where the light comes from and how you’ll block it during naps.
The best nursery setup is the one that makes your life easier during those sleep-deprived weeks. Forget about impressing visitors. Focus on creating a space where you can change diapers quickly, grab supplies without hunting, and move around without bruising your knees on furniture edges. That’s the floor plan that actually works.